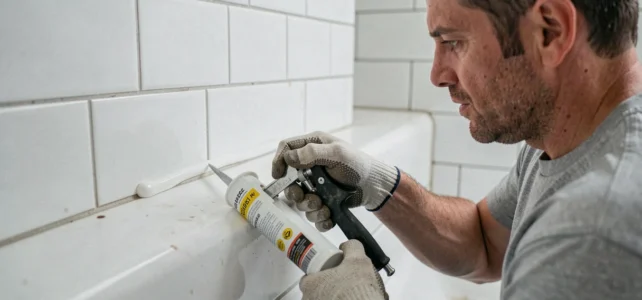
You have just applied a beautiful acrylic seal along your baseboards or around a door frame, and the question arises: should you paint now or wait? This seemingly trivial choice determines the durability of your finish for years. Acrylic sealant can be painted, unlike silicone, but the timing of when you apply it in relation to the paint changes everything.
Finishing seal or protective seal: two logics, two application orders
Before pulling out the caulking gun, ask yourself a simple question: what is the purpose of this seal? The answer determines the order of operations.
A cosmetic seal fills a visible micro-space between two elements: molding and wall, baseboard and partition, interior window frame and drywall. It will be covered with paint to disappear completely. In this case, the sequence recommended by professional painters is as follows: first apply a primer coat, then apply the acrylic seal, let it dry, and finally apply the finish coat over it.
A protective seal, on the other hand, serves a waterproofing role. It is found around exposed windows or at exterior junctions. Here, the logic is reversed: paint the surfaces first, then apply the seal last. The sealant remains visible, often matched to the wall color, and is not covered. Knowing when to apply acrylic seal before or after painting therefore directly depends on the function you assign to this seal.
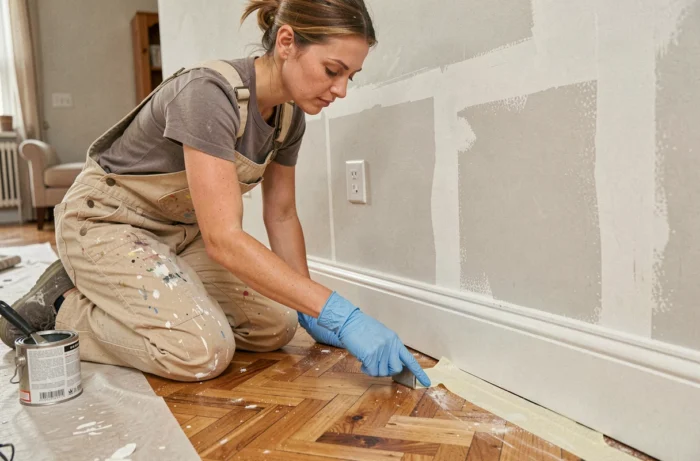
Drying of acrylic sealant before painting: why patience pays off
The mention “repaintable in a few hours” appears on many cartridges. This indication refers to surface drying, not complete drying through.
In practice, recent guides from manufacturers and painters converge towards a more cautious timeframe. For a thin bead, allow at least a dozen hours. For a thicker bead (a few millimeters deep), wait at least 24 hours before painting. The reason is physical: acrylic sealant dries by evaporating the water it contains. If you paint too soon, the paint layer traps residual moisture in the seal.
Consequences of insufficient drying
When the trapped water eventually evaporates, it creates pressure under the paint film. The result: micro-cracks appear along the seal, sometimes a few weeks after the end of the project. The paint can also blister or peel locally.
Two factors accelerate or slow down drying:
- The ventilation of the room: a moderate airflow significantly reduces the curing time. In winter, with windows closed and heating off, drying can double.
- The thickness of the bead: a deep filling seal takes much longer to dry than a simple finishing bead. The thicker the bead, the longer the delay needed.
- The ambient humidity: in a freshly plastered room where the walls are still releasing moisture, the seal dries more slowly than expected.
Smoothing the acrylic seal: the gesture that avoids touch-ups
You may have noticed that a poorly smoothed seal creates an irregular bulge along a baseboard. Under the paint, this defect becomes very visible, especially with a satin finish that catches the low light.
A careful smoothing with a wet finger gives a fine and even seal. Run your wet finger (or a smoothing tool) over it in the seconds following application, before the sealant starts to set. Wait too long, and the surface tears instead of smoothing out.
Masking tape and cleanliness
Place two strips of masking tape on either side of the area to be sealed before applying the sealant. Smooth it, then remove the tape immediately while the seal is still fresh. If you wait for the sealant to dry before removing the tape, the hardened sealant will tear and leave an irregular edge.
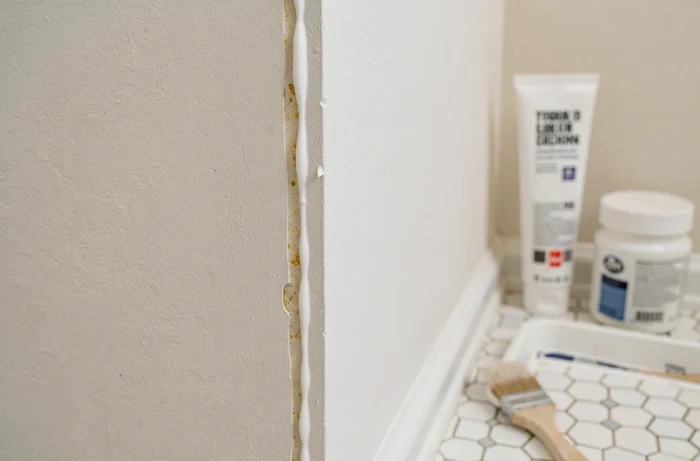
Acrylic or silicone: compatibility with paint
The confusion between these two sealants causes most of the problems with paint not adhering to a seal. The rule is straightforward: standard silicone cannot be painted, acrylic can be painted.
Silicone forms a waterproof and flexible film on which paint glides without adhering. Even after light sanding, adhesion remains very poor. If you need to apply a seal in an area that will be painted, choose an acrylic sealant labeled “paintable” or “to be painted”.
How to recognize an existing seal? The test is simple: run a fingernail over it. Silicone is elastic and slippery, while acrylic is slightly grainy and stiffer once dry. Another clue: silicone resists water on the surface, while acrylic absorbs a drop of water within seconds.
Common mistakes on interior painting jobs
Some mistakes recur on almost every amateur job. Identifying them can save time and paint.
- Applying acrylic sealant before any sanding of the coatings: sanding dust settles on the fresh seal and prevents the paint from adhering properly. Complete all sanding before sealing.
- Applying paint in a thick layer directly over the seal: acrylic sealant absorbs paint differently than the wall. Apply a first thin coat, let it dry, then apply the finish. This evens out the appearance.
- Using a basic acrylic sealant in wet areas: in bathrooms or kitchens, a standard acrylic sealant degrades with prolonged contact with water. For these areas, a hybrid sealant or dedicated silicone is preferable, even if it means not painting it.
The timing of applying an acrylic seal is not a matter of preference, but of function. A decorative seal is applied after priming and covered with paint. A waterproofing seal is applied after painting and remains visible. In both cases, the complete drying of the sealant before any finishing coat remains the most underestimated variable, and the most decisive for a durable result.